Colouring Squared 101: Essential Techniques for Pro Results offers a concise roadmap for anyone who wants to move from hobbyist scribbles to gallery‑ready finishes, balancing the tangible benefits of traditional media with the inevitable trade‑offs that seasoned colourists encounter.
Why Technique Matters in Modern Colouring
In the United States, adult colouring has migrated from stress‑relief pastime to a niche creative industry. Publishers now commission colourists for commercial illustrations, and galleries feature large‑scale coloured pieces alongside oil paintings. Mastery of technique becomes the hinge that separates a decorative pastime from a marketable skill. By focusing on the fundamentals—paper selection, stroke control, and colour theory—artists can meet professional standards without relying on gimmicks.
Core Tools and Materials
Choosing the right substrate is the first decisive move. A 140‑gsm, acid‑free Bristol board tolerates heavy layering without warping, while a heavyweight watercolor paper (300 gsm) offers superior pigment absorption for wet media. For dry media, a set of 12‑grade graphite pencils, a 6‑color Prismacolor pastel set, and alcohol‑based markers (e.g., Copic Sketch) provide a versatile palette.

Paper vs. Digital
- Paper: Offers tactile feedback; pigments interact with texture, creating organic depth.
- Digital tablets: Enable endless undo options and precise colour palettes, but lack the subtle texture that many collectors prize.
Step‑by‑Step Process
A repeatable workflow reduces the learning curve. Begin with a light sketch, establish a value map, then build colour in three layers: base wash, mid‑tone enrichment, and final highlights. Texture can be introduced using stippling, cross‑hatching, or dry‑brush techniques, depending on the medium.

Typical Workflow (Illustrative)
- Lightly outline the composition with a 2 B pencil.
- Apply a uniform base colour (e.g., light gray for shadows) using soft pastel.
- Introduce mid‑tones with a medium‑hard pencil or marker, respecting the light source.
- Finalize with a fine‑point pen or gel pen for edge definition and sparkle.
- Seal the piece with a fixative if using dry media.
Pros and Trade‑offs of Popular Methods
Markers deliver vibrant, uniform colour quickly, yet they are prone to bleeding on low‑gram paper and can be costly in the long run. Graphite pencils provide nuanced gradients but require careful erasing to avoid surface damage. Water‑based inks achieve luminous washes but demand a waterproof paper to prevent feathering. Understanding each medium’s strengths helps artists allocate resources efficiently.
Realistic Expectations for Results
Even with top‑tier tools, a professional‑grade piece typically requires several hours of focused work. Beginners should anticipate a learning curve of 10–15 sessions before achieving consistent depth and texture. Mistakes—such as over‑saturation or uneven pressure—are common and serve as diagnostic markers for skill refinement.
Takeaway: Applying the Techniques
To translate theory into practice, set aside a dedicated workspace, select a single medium, and follow the three‑layer workflow on a test sheet. Document each step with photos, noting where colour shifts appear too harsh or where line work fades. Over a month, these incremental adjustments will coalesce into a reliable process that delivers the pro results promised by Colouring Squared 101.
Coloring Pages For Kids To Print Coloring Pages Kids Printable Color
.gif)
coloring pages for kids to print Coloring pages kids printable color ...
Coloring Pages For Kids To Print Coloring Pages Kids Printable Color
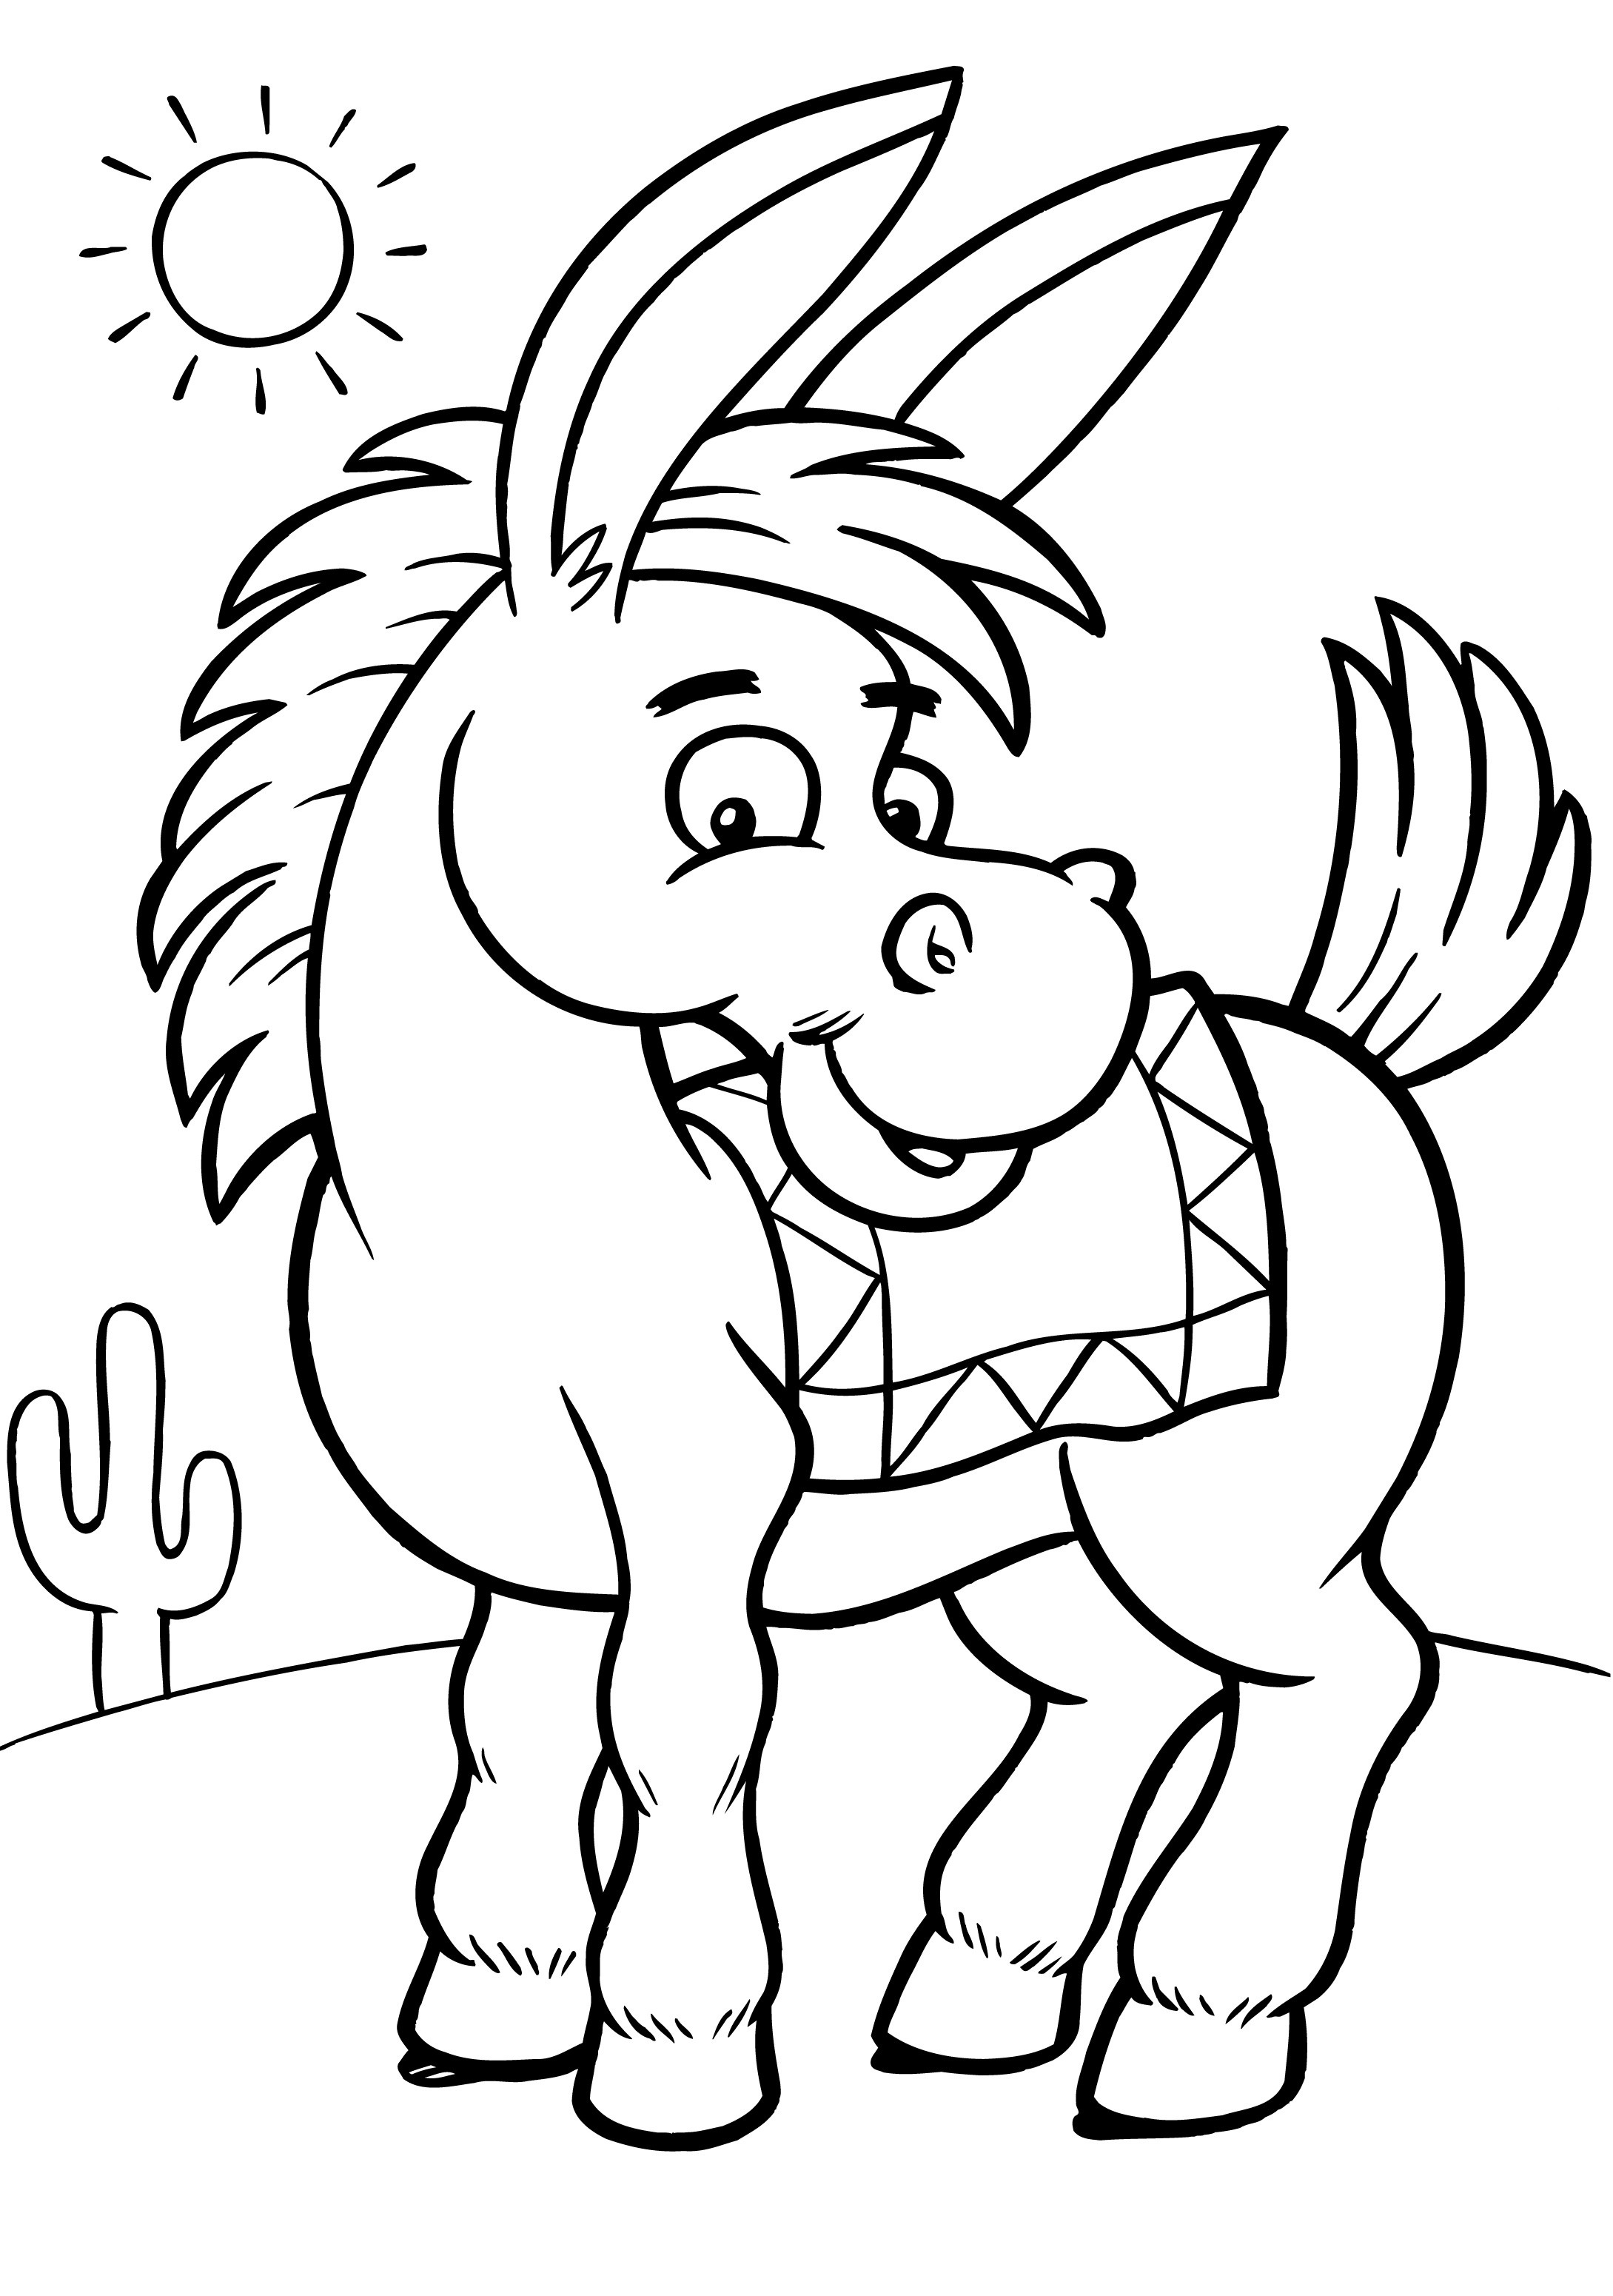
coloring pages for kids to print Coloring pages kids printable color ...
Junior Crafternoon: 2018
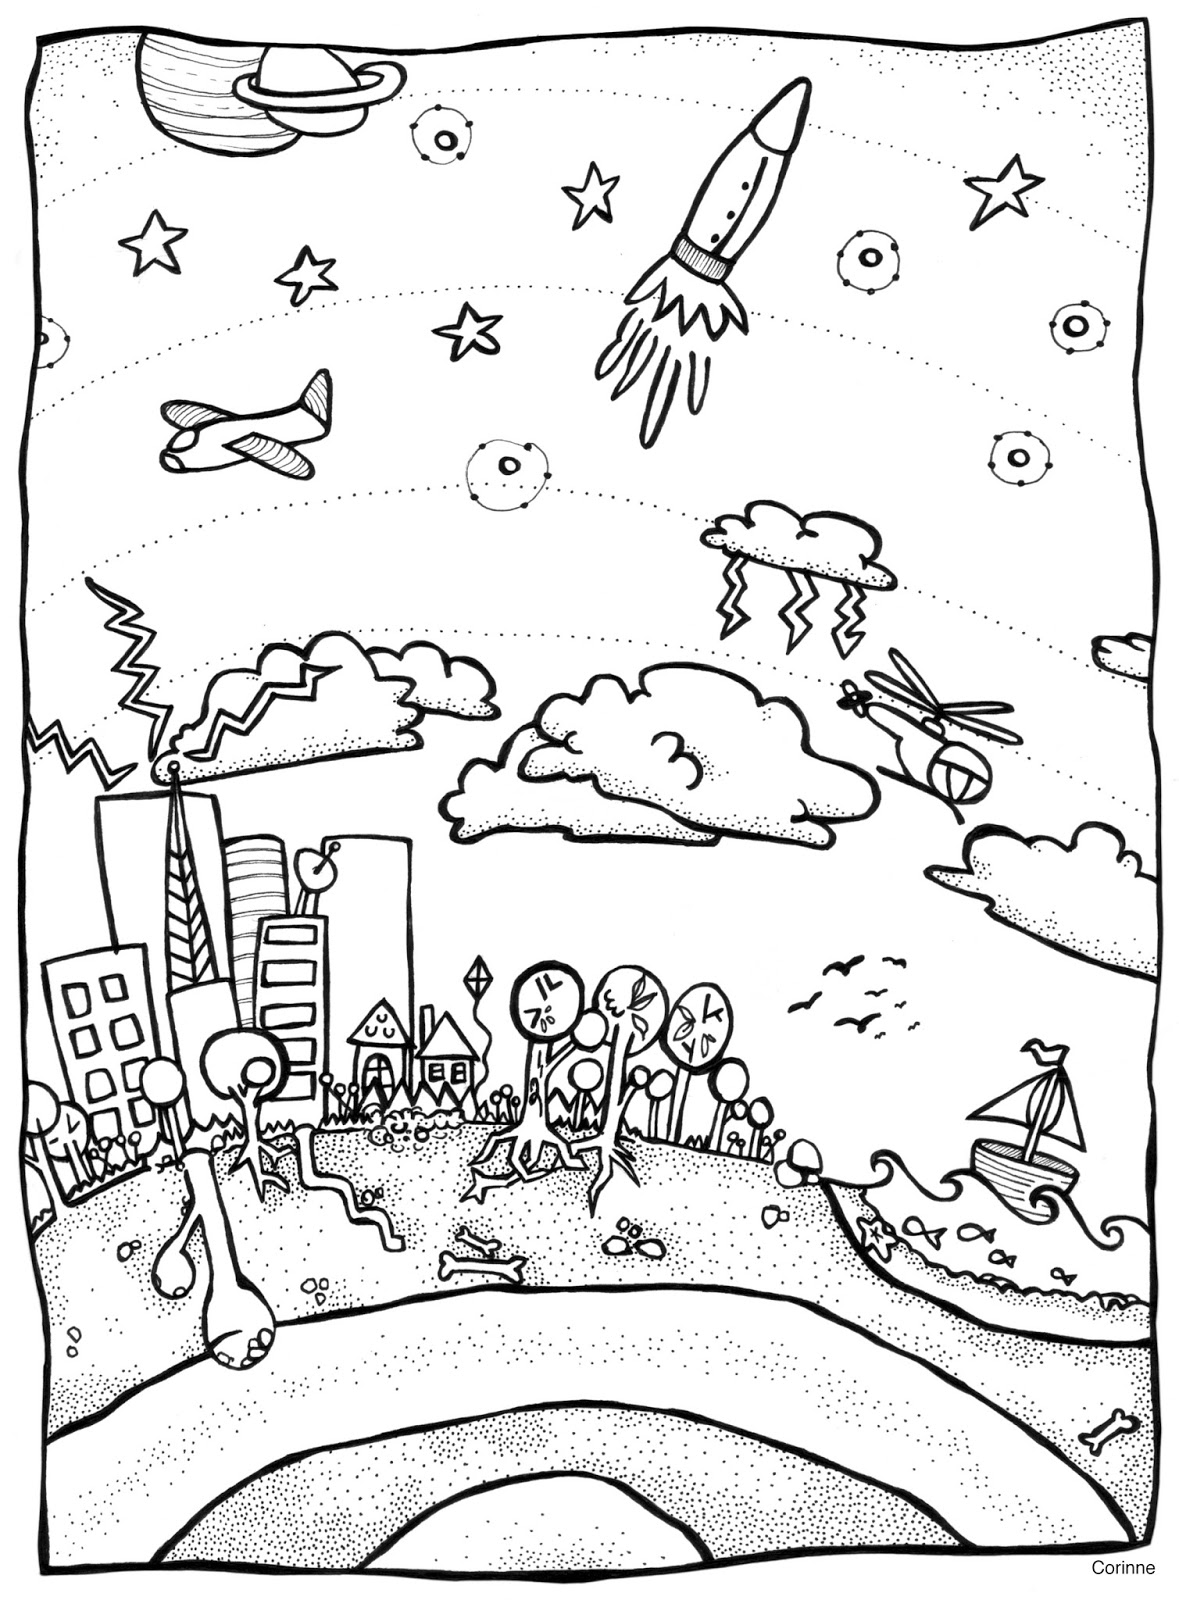
Junior Crafternoon: 2018
Colouring Page # 1 Free Stock Photo - Public Domain Pictures
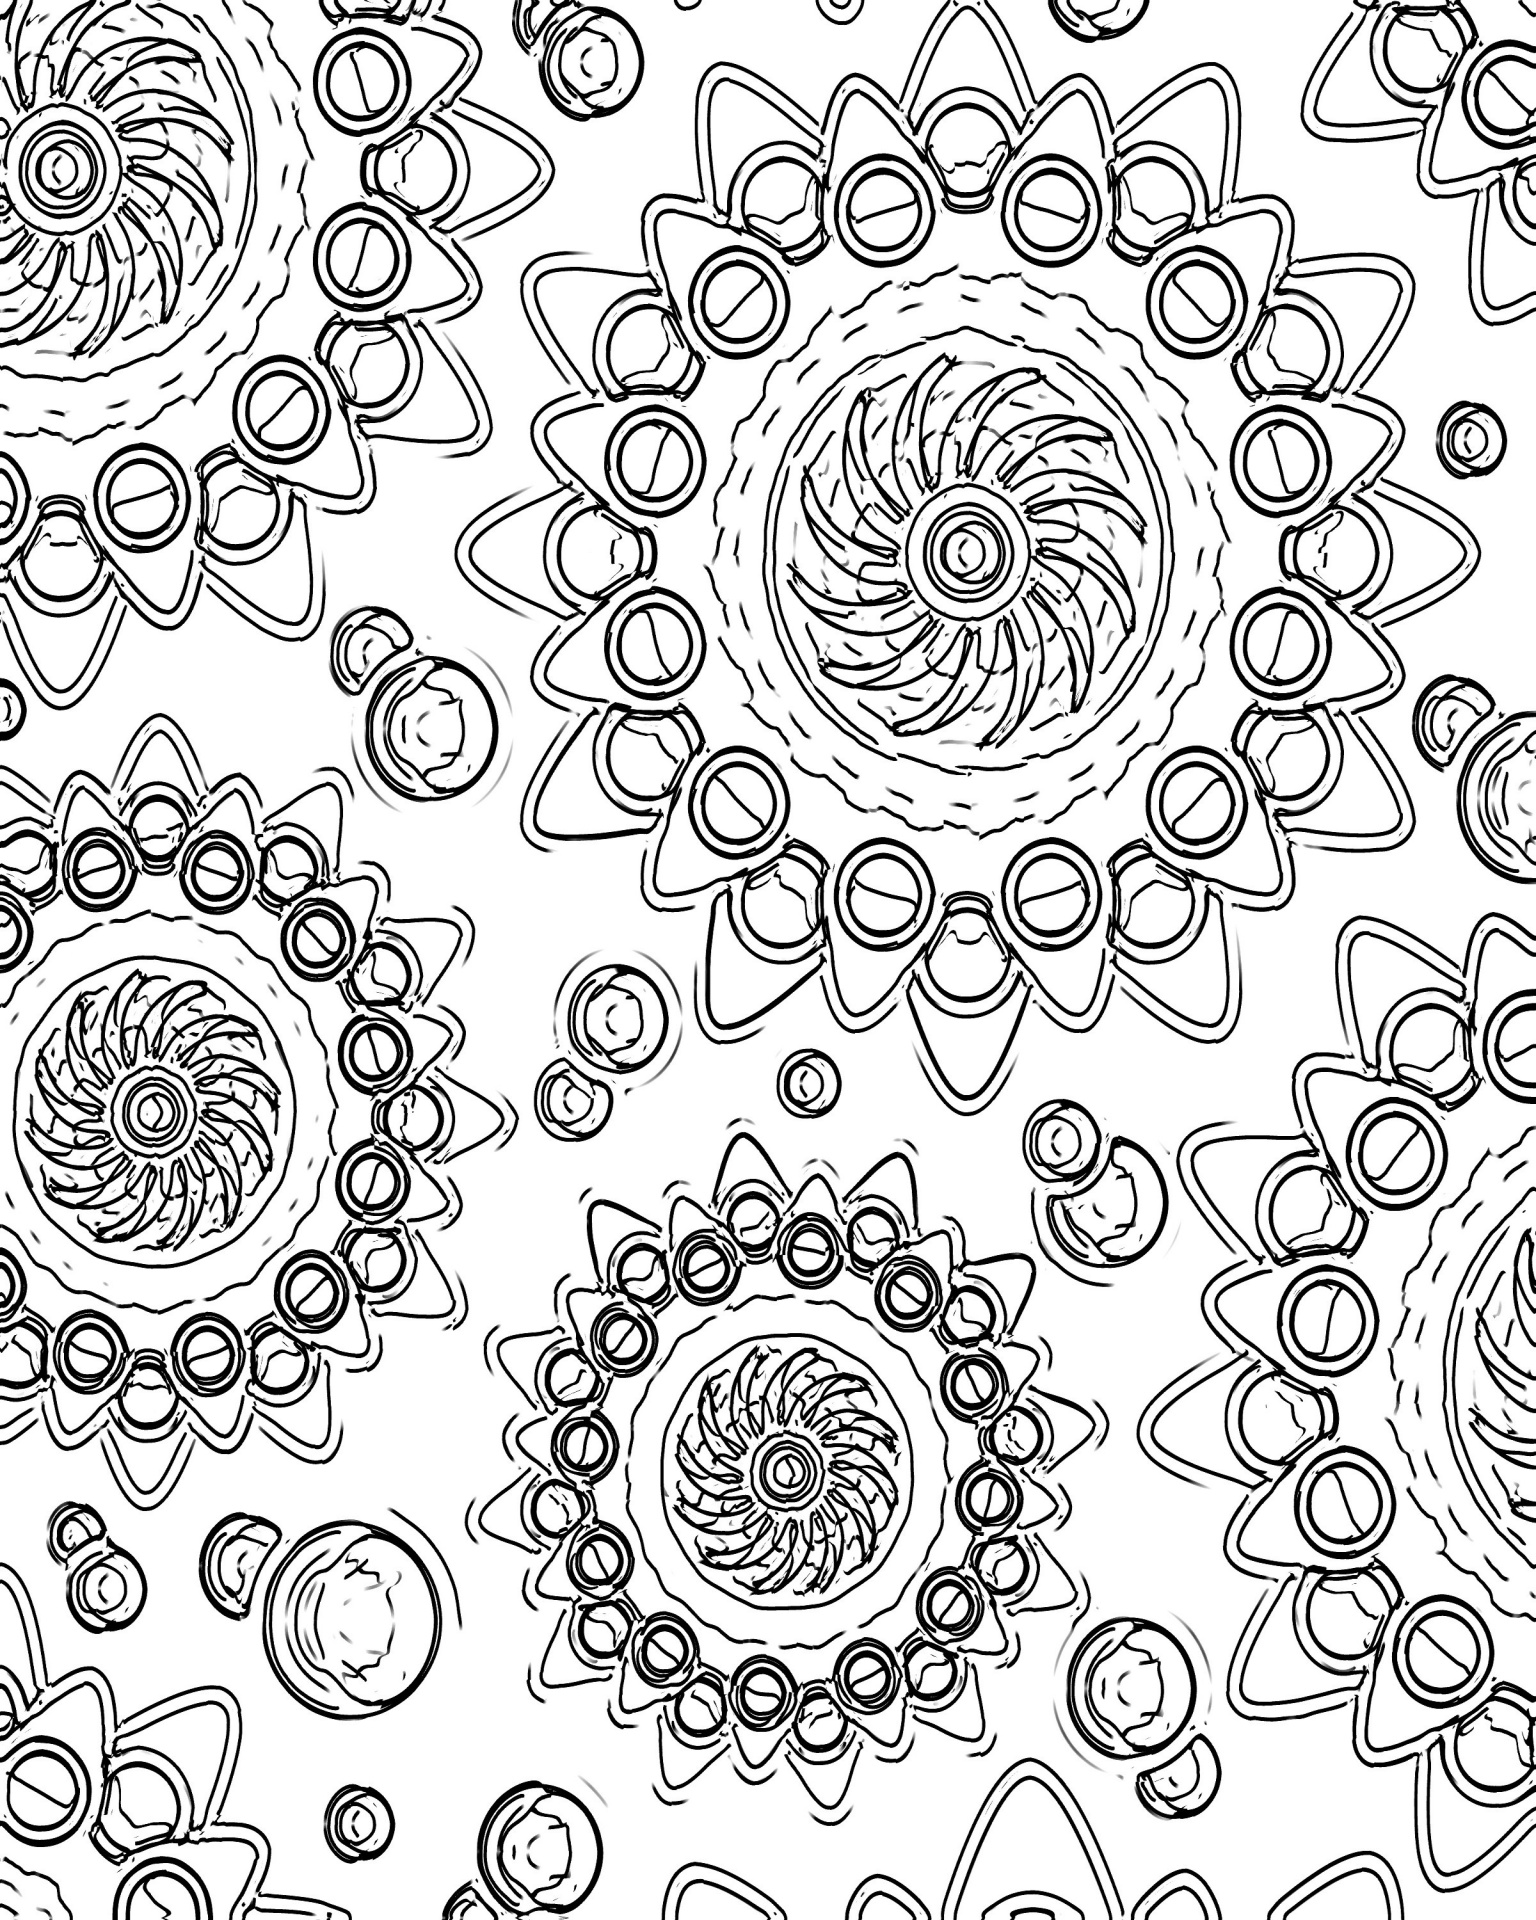
Colouring Page # 1 Free Stock Photo - Public Domain Pictures